Wednesday, July 13, 2011

Thank you Alicia Paulson


Find Alicia's book here.

I never would have made a quilt if it weren't for Alicia Paulson.  There are lots of great projects in her wonderful book, "Stitched In Time," but the one that caught my eye was the baby quilt.  I think what really got my attention was that she made it seem simple, and unintimidating.  Completely within reach, even for someone new to sewing and quilting. 

Thank you Alicia Paulson!  I'm so happy that my little girl gets to snuggle up and sleep with a handmade quilt from her mommy, made from some of her most-loved baby and toddler clothes!  And I get a little trip down memory lane, without digging into garbage bags of old clothes hidden up in the attic! 


It was a lot of work, cutting up the clothes, cutting the squares, stabilizing the knit fabric squares, fusing and top-stitching the small squares (from fabrics that weren't big enough to yield 6.5" squares) onto the larger ones, piecing it all together, quilting, binding... but it was so worth the effort. 

This was made slowly, over a few months time.  There were a few interruptions - other projects to make, little ones to care for, boo-boos to heal, a business to run, birthday parties to plan... you know the drill! 

More than once I made a detour to the baby album, just to remember what she looked like when she wore the little pink and green turtles print, the newborn romper with smocking, or the shirt with the little cupcake applique. 


It's really a kind of functional scrapbook.  Full of memories and love.


Lainey and I went to the fabric store together to choose the backing fabric, a hot-pink super-soft minky.  I love how the whole quilt is light as a feather, and whisper-soft, more like a light blanket than a heavy, stiff quilt.  Perfect for a little girl!


A little pocket for her treasures!

I hope that she grows up knowing how special she is, and how much her momma loves her!

Tuesday, July 5, 2011

Another rag rug

Long time no talk, right?!  Well, first, look at these gorgeous flowers!!!  They sit on the dining room table and smell so good, and make me smile every time I walk by. 


I've been crocheting again... making a new kitchen rug.  Tried to use up all of the fabric that's was purchased with best intentions but just didn't quite work out.  (Read: make room in stash closet for some of the new fabrics I've fallen in love with)!

So, hopefully you won't think that some crazy crocheting clown has taken over around here, because I warn you, it is a LITTLE bit colorful. 


It's broad stripes, of multiple fabrics cut in 2" strips of "yarn," starting with turquoise, green, brown, yellow, purple, white, red, and brown again.  I crocheted along a thick off-white yarn with the fabric as well, for some texture. 


 It's a little crazy, but fits right in with the rest of my kitchen/children's art gallery!


The wacko decor of this whole room makes me feel as happy as the flowers do!

Wednesday, June 15, 2011

NOOOOOOOOOOOOOOOOOOOOOOOO!!!

Dear wise readers,


This morning we woke up to this mess!  All of the clothes from the closet and dresser, plus all of the books and toys dumped into a huge pile on the floor.  And baby Jack's first words to me this morning  were, "Lainey did a mess!"  He then proceeded to joyfully play in said mess, while his sister protested, "we BOTH made the mess." 

Suggestions?  Advice?  Sympathy?
All of the above?! 

Sincerely,
OneTiredMama

Monday, June 6, 2011

The Entry

I've been threatening to make a rug for our front entryway for about 5 years now.  Pretty much ever since we moved in.  Periodically, I'll go on a shopping quest, where I'll look in local shops, scour the internet, and mention it to my mom, sister, and best friends incessantly....  but I have had no success in finding the right rug. 

Am I picky?!  Yes!!!  I wanted something in white or off-white with a dash of light tan or something, and oval shaped.  So I'd look all over, and then threaten to make one, and then just live with the little square piece of carpet that they cut for us last time we got new carpeting.  Ugh! 

I mean, who in there right mind would MAKE a RUG?!!!  Well, it turns out that people all over blogland do, and they even give ideas and tips on how to do it yourself!  Yeah!!!  Five years is a long time!   Maybe I should have done this long ago?!!!  Ugh! 

So apparently there are a few different ways to make a rug, but mostly I saw them either braided, or crocheted.  Since you'd have to actually sew a braided rug together, and I don't like trying to sew through big heavy thick stuff too much, I decided to crochet mine and avoid that hassle! 

I used off-white cotton knit fabric, with a thick strand of yarn (with a copper thread) along with it, and crocheted this with a GIANT hook.  It took about 9 yards of fabric, cut into a continuous 2-3 inch strip.  To cut it, I started from one end, and cut a (approx.) 2.5" strip, stopping about 2" from the end.  Then I moved my scissors over 2.5" and started cutting a parallel strip from the other end.  I repeated this process until the entire yardage was cut in a continuous strip.  (See figure below, where the dotted line is the cut line, and the red dots are where I stopped cutting). 


So, it took about 4 hours to make this.  I started with a chain of 5-6, and then went around and around, increasing every few stitches, in order to make it lay flat.  If you don't increase enough, it starts to curl up into a bowl shape, and if you increase too much, it will be wavy and rippled, so you have to keep trying and see what works well.  (And ripping out stitches as needed)!  I only stitched into the front hook of each chain, to make it less rigid. 


It sure felt good to throw out that old scrap of carpet!   Next I think I'll work on something new for the kitchen!!!

Saturday, May 28, 2011

A Crown for my Princess!

I loved the idea of a birthday crown, for my daughter to wear to her 4th birthday party. The theme of the party was Rapunzel, and we invited all of her preschool friends to celebrate at the park. Our special surprise was an entertainer, who dressed up as the "real" Rapunzel, and led the kids in lots of fun party games. She was amazing! And the little girls "oohed and aahhed" over all of the flowers in her long hair!  Three and four year olds are just adorable!

So, here is a copy of the invitation... I used MS Paint to do the "spray painted" background, and then cut the tower out of scrapbooking paper.  That's ric-rac and a yellow button on the roof of the tower, and pink yarn braided to make Rapunzel's hair.  Why pink, you ask?  Because according to my little girl, if it's not purple, then it should be pink!  And I had some pink!  Yay!  Then I used a zig-zag stitch to make a border on 2 sides.  All of the info is on the other side...

"Hear ye, hear ye, Lainey is turning 4!  Please help us celebrate the royal occasion with a party...  RSVP to the Queen"   

The Rapunzel theme was inspired by our then-current favorite book, "Falling for Rapunzel," by Leah Wilcox.  It's an adorable modern twist on the Rapunzel story.  Leah Wilcox is one talented lady!  We love her "Waking Beauty" book too. 

Instead of giving typical treat bags, we got a paperback copy of the book for each child as their "take home" treat!   I always get a sinking feeling when we leave the birthday party and I know I have to check through the treat bag for junk I'd rather not let my little munchkins have, and then dispose of it when they're not looking... so I LOVED the idea of getting them one nice thing instead of a bag full of junk.  (Not that they don't love the junk)!

I'm hoping I can find a way to theme out our future parties based on books... I think it worked so well, and made it pretty easy to keep everything in line with the theme. 

So what about the Birthday Crown?!  There is a great tutorial on The Long Thread blog (which I love to read)!  And I pretty much followed her instructions, except for adding in some extra rows of velcro to make it a little bit adjustable.  I loved that it was so pretty on both sides, and easily dolled up to suit any princess - or prince for that matter! 


I added rows of ribbon, lace, ric-rac, fabric flowers, felt heart shapes, buttons galore, and little crocheted flowers to decorate it!  'Cause this was one of those times where more really is more - even if it means spending over an hour sewing on little yahoos and doo-dads! 

Happy Birthday little princess!  Your mommy loves you!

Tuesday, April 12, 2011

Beach blanket rollup

I don't remember being much of a picnic person before having kids.  I guess it sounded vaguely good, but not so good that I actually made the effort.  But with kids, it is one of my favorite things to do on a nice day.  We get some time playing outside, and eat lunch.  Leaving all of the crumbs at the park/beach is a nice little bonus too! 

And now we finally have a great picnic blanket to take along with us.  It's DONE!!!  The ugly burgandy thing is no more!  Now it looks like this!


It still lives in my car, but now we'll actually take it out and use it! 


Tuesday, April 5, 2011

Trash to Treasure

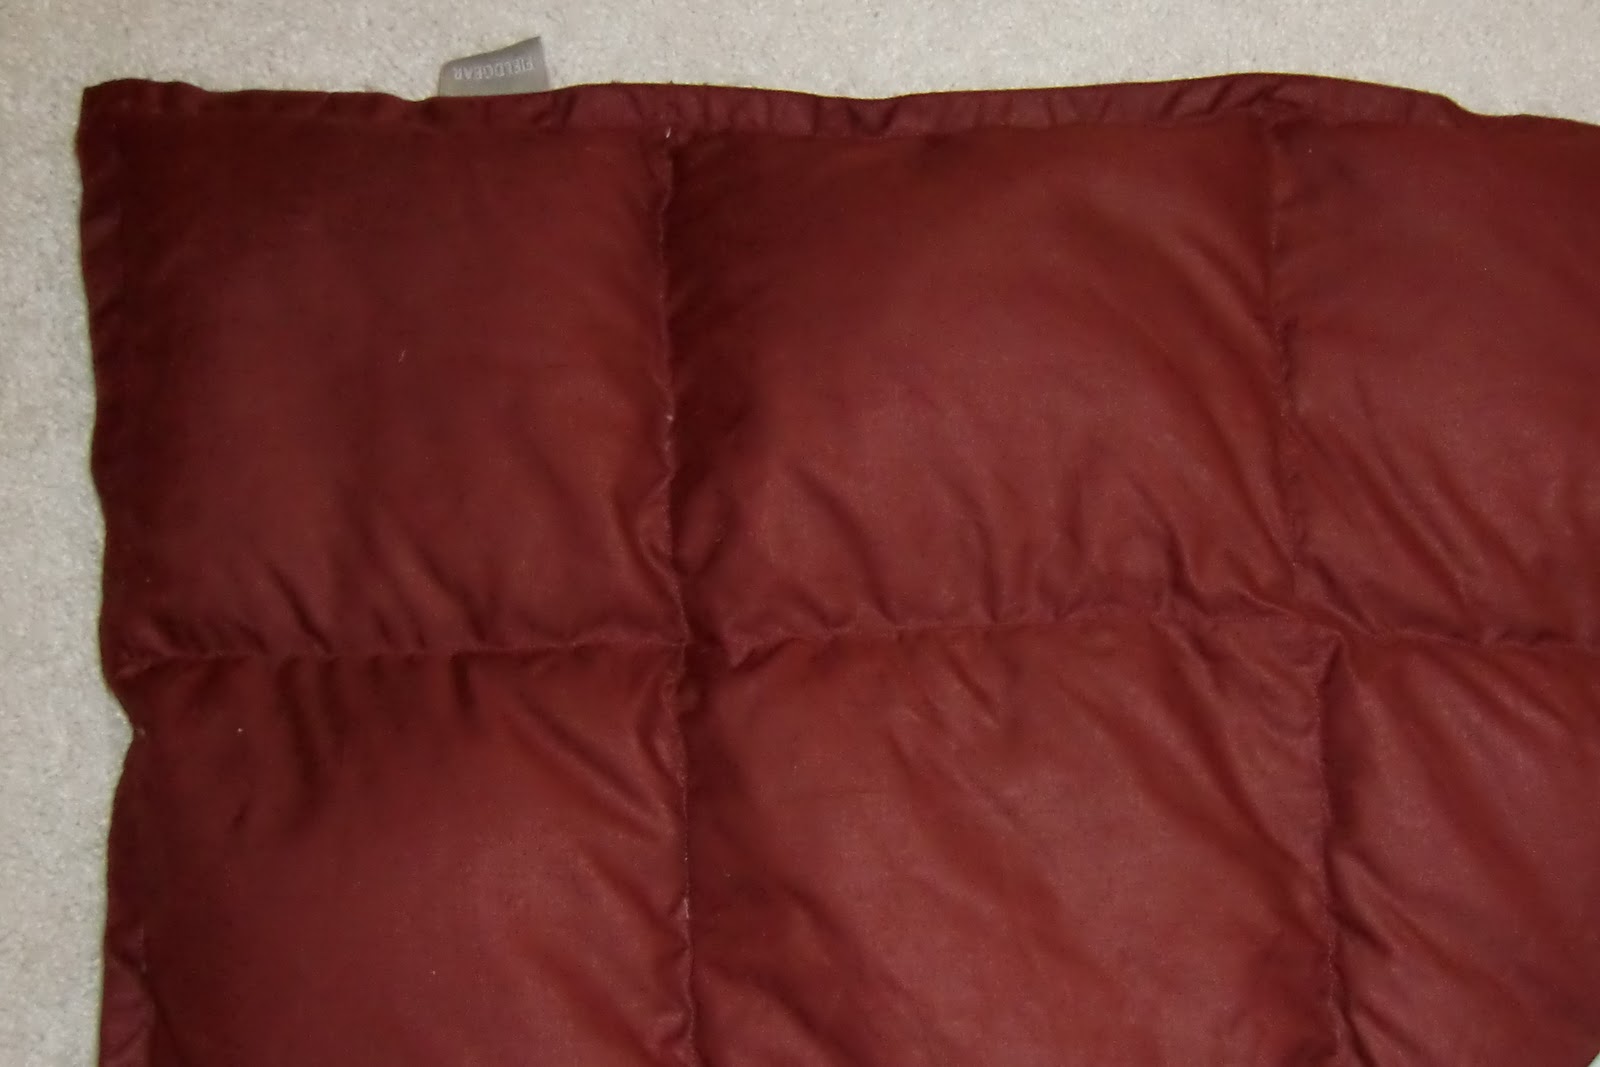
So this ugly thing has been living in the back of my car for a long time.  It has never been used!  I don't like it much, but couldn't quite bring myself to throw it out... it's a dark burgandy colored down throw.  Nothing bad or offensive about it, but I can't say I "like" it either...  So I threw it into the back of the car, and ignored it.  For a long time.  

Years!


And now I've FINALLY figured out what to do with it!  Use it as quilt batting to make a beach/picnic blanket. 

I'm so excited!  We could really use one of those!  And the down batting will make it a little extra cushy. 

So hopefully I haven't put my foot in my mouth... because surely I didn't buy this!  It must have been a gift from someone... hopefully a forgiving someone who loves me and has a sense of humor!  Who gave me a lovely 40" x 60" bit of inspiration! 

OK, this is my version of a "cliffhanger!"  Check back in a few days to see the transformation!